
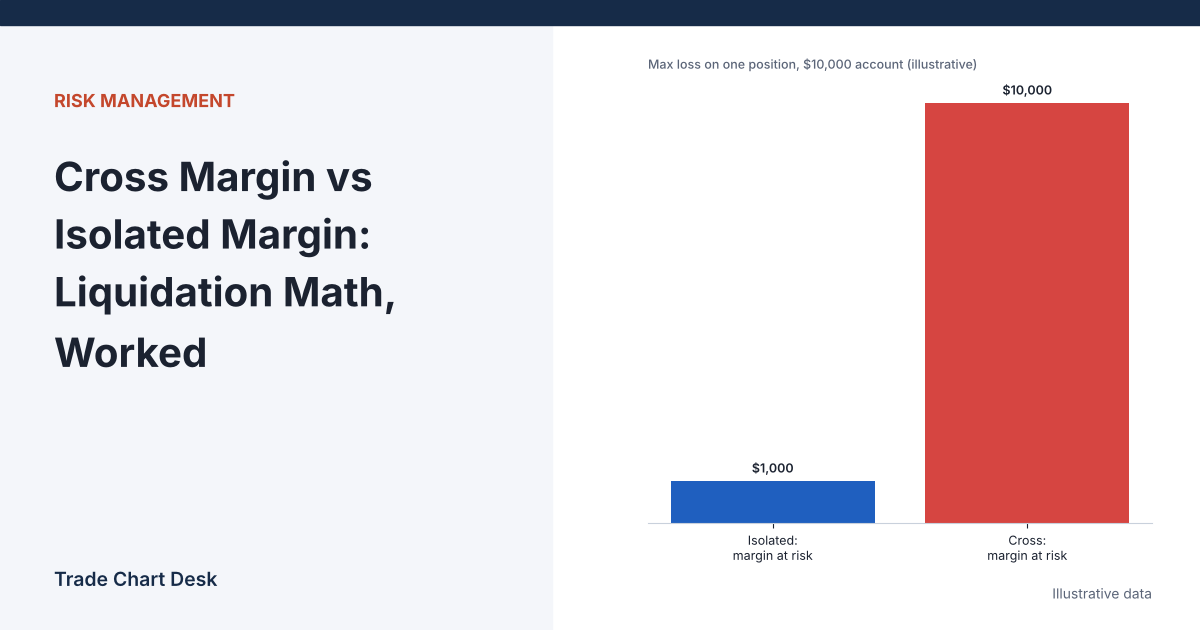
A common piece of advice says isolated margin is “safer” and cross margin is “riskier.” Run the numbers and the picture is less tidy. With the same position and the same account, cross margin can put your liquidation price thousands of dollars further away than isolated margin does. What cross margin really changes is how much you can lose when you are wrong and which other positions can drag you there. This article works through one account in both modes so you can see the trade-off in dollars.
The definitions, from the exchanges
OKX’s help page on cross and isolated modes puts it plainly:
- Cross margin: all cross positions in the same margin asset share one margin balance. Profits on one position support losses on another. In a liquidation, the maximum loss is the balance of all margin in that asset.
- Isolated margin: each position has its own assigned margin. In a liquidation, the maximum loss is that position’s margin.
Both modes measure risk using the mark price, not the last traded price. Bybit states that in isolated mode “liquidation will be triggered when the Mark Price hits the position’s Liquidation Price,” and that liquidating one isolated position does not affect another. If the difference between mark and last price is new to you, read our mark price vs. last price guide first.
The liquidation formula we will use
Exchanges use tiered maintenance margin rates, fixed maintenance amounts and fees, so their calculator will differ slightly from this. The simplified core is enough to see the difference between modes. For a single long in a linear (USDT-margined) contract, liquidation happens roughly when the margin backing the position falls to the maintenance margin:
Margin + Qty × (P − Entry) = MMR × Qty × P
Solving for the liquidation price P:
P = (Qty × Entry − Margin) ÷ (Qty × (1 − MMR))
The only thing that differs between modes is what counts as Margin. In isolated mode it is the amount you assigned. In cross mode it is your whole available balance in that asset, minus whatever the other cross positions are losing or tying up.
One account, two modes
Illustrative setup. The account holds 10,000 USDT. The trader opens a long of 0.5 BTC at $60,000 (position value $30,000) at 10x, so initial margin is $3,000. Maintenance margin rate (MMR) is 0.5%.
| Scenario | Margin backing the BTC long | Liquidation price | Distance from entry | Most you can lose on this trade |
|---|---|---|---|---|
| Isolated, $3,000 assigned | $3,000 | $54,271 | −9.5% | $3,000 |
| Isolated, $5,000 assigned (added $2,000) | $5,000 | $50,251 | −16.2% | $5,000 |
| Cross, no other positions | $10,000 | $40,201 | −33.0% | about $9,900 (nearly the whole balance) |
| Cross, plus an ETH long now down $2,400 | $10,000 − $2,400 loss − $138 ETH maintenance | $45,303 | −24.5% | whole balance |
| Cross, ETH long down $4,000 | $10,000 − $4,000 − $130 | $48,503 | −19.2% | whole balance |
Check the first row: (0.5 × 60,000 − 3,000) ÷ (0.5 × 0.995) = 27,000 ÷ 0.4975 = $54,271. The ETH rows assume a 10 ETH long entered at $3,000, now at $2,760 and then $2,600, with the same 0.5% MMR.
What the table shows
- Cross pushes liquidation further away. With nothing else open, the BTC long can absorb a 33% drop instead of 9.5%. That is why some traders feel cross is “safer.”
- But the cost of being wrong is larger. In isolated mode the worst case is the $3,000 you assigned. In cross mode, a move to $40,201 costs almost the entire $10,000.
- Other positions move your liquidation price. Nothing about the BTC trade changed between the last three rows. The ETH loss alone pulled BTC’s liquidation price up by more than $8,000. On a chart you would see BTC’s liquidation level creeping toward price while BTC itself stood still.
- Adding margin in isolated mode is a deliberate cross-like choice. Topping up from $3,000 to $5,000 widens the buffer, and also raises the maximum loss to $5,000.
The real question: where is your stop?
If the trader’s plan is a stop at $57,000, the planned loss is 0.5 × 3,000 = $1,500 in either mode. When the stop works, margin mode makes no difference to the result. Margin mode matters in the cases where the stop does not work as planned:
- no stop was placed, or it was cancelled;
- the market gapped through the stop and the fill came far below it;
- the stop triggered on one price type and liquidation happened on another first;
- several correlated cross positions all lost at once.
So a workable rule is: size the trade by your stop, then choose the margin mode by what you want the failure case to look like. Our position sizing guide covers the first half. For the second half:
Decision checklist
- Is there a stop, and is it well above the liquidation price in both modes? If isolated liquidation ($54,271 here) sits above or near your stop ($57,000 is fine; $54,000 is not), isolated mode will liquidate you before the stop triggers. Either widen the margin or tighten the stop.
- Do you hold several positions that tend to move together? BTC, ETH and most large altcoins often fall together. In cross mode, they share one buffer, and a market-wide drop draws on it from every direction. Isolated mode caps each one separately.
- Are you hedging? A long and a short that offset each other (for example, the futures leg of a delta-neutral trade) benefit from cross margin, because the winning leg supports the losing one. In isolated mode the losing leg can be liquidated while the winner sits on unused profit.
- Will you be away from the screen? Isolated mode turns a missed stop into a known, capped loss. Cross mode turns it into an unknown share of the balance.
- Is the coin thin or prone to sudden spikes? Isolating it keeps one bad print in a small-cap contract from eating margin your other positions need.
How each mode fails
Isolated margin failures
- Liquidated while the account is flush. You can lose the position with $7,000 sitting unused in the same account. Some traders then “rescue” it by adding margin, which is how an isolated trade slowly becomes an uncapped one.
- Tight liquidation at high leverage. At 20x or more the liquidation price can sit inside normal intraday noise.
Cross margin failures
- Contagion. One position’s loss raises every other position’s liquidation price, as the ETH rows show.
- Losing more than you planned. Without a working stop, the only limit is the balance in that margin asset.
- Cascade on a market-wide drop. Liquidations across many traders can accelerate the move. Our liquidation heatmap guide explains how traders try to estimate where those levels cluster.
Exchange-specific details to check
- On OKX, open positions cannot be switched between cross and isolated mode. Close and reopen if you want the other mode.
- Bybit’s process for larger positions can partly close the position first (reducing it to a lower risk tier) before a full liquidation at the bankruptcy price.
- Unified or portfolio-margin accounts may count other assets, such as spot BTC, toward cross margin with a haircut. Read your account type’s rules.
Test it before you trade it
- Open your exchange’s futures calculator. Enter the example above (0.5 BTC, $60,000 entry, 10x, 10,000 USDT balance) in isolated mode, then cross mode. Compare its liquidation prices with the table; small differences come from tiered MMR and fees.
- On a testnet or with a very small position, open two correlated cross positions and watch how one’s liquidation price moves as the other’s PnL changes.
- For every live trade, log in your journal the stop price, the liquidation price and the margin mode. If liquidation is ever closer to entry than your stop, flag the trade before you place it.
Financial disclaimer: This article is for educational purposes only and is not financial, investment, or trading advice. Trading involves substantial risk of loss. Example figures are illustrative.
2 thoughts on “Cross Margin vs Isolated Margin: Liquidation Math, Worked”